Step 1.
Log in to the WordPress Administration Panels.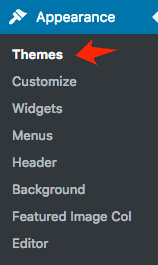
First of all a huge thank you for purchasing Shadower Pro Theme. If you have any questions that are beyond the scope of this help file, please join my Support Center. You can also follow me to keep track of all theme updates and future themes.
Watch the video below for a quick overview of how it works, and read below for more examples and settings.
Minimum Requirements for Running:
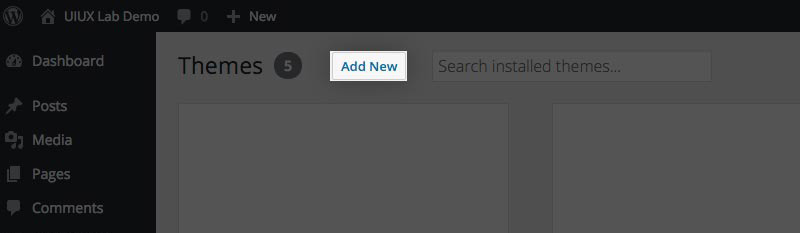
Dashboard » Appearance » Themes » Add New

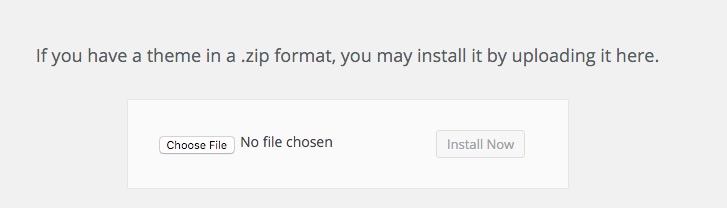
shadower-pro.zip.

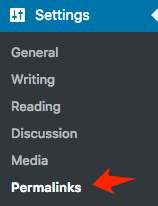
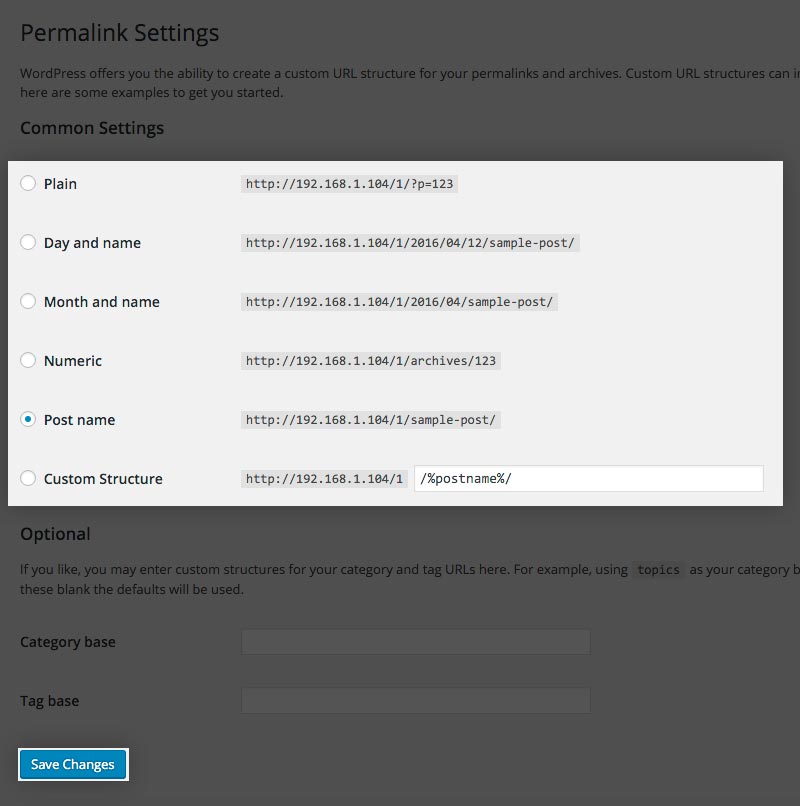
Dashboard » Settings » Permalinks and click on the "Save Changes" button.
wp-content/themes folder.
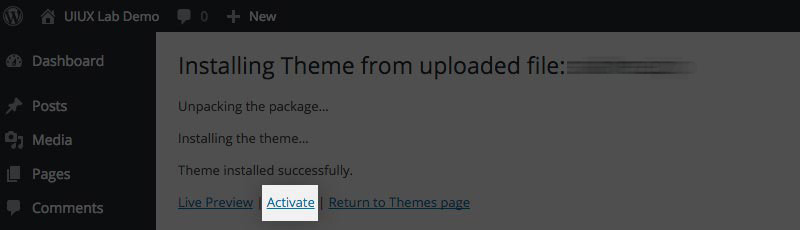
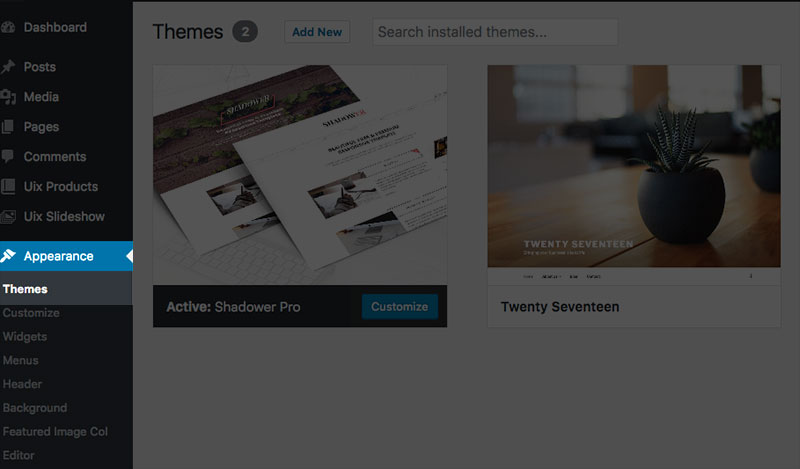
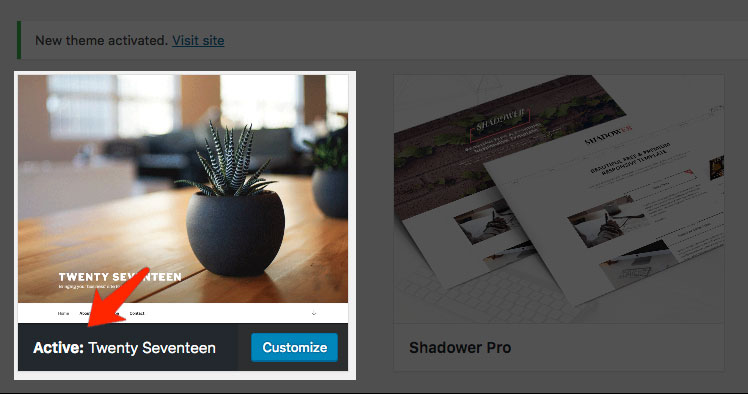
Dashboard » Appearance » Themes and activate the theme.
If you can see an error message saying: "The uploaded file exceeds the upload_max_filesize directive in php.ini" or "Are you sure you want to do this? Please try again." The solution is as follows:
/wp-content/themes/. Then you will have the theme in your Dashboard and you can activate it from there.
This is a common issue that can occur when installing a WordPress themes. For the details of solution, please have a look at this article.
Dashboard » Appearance » Themes


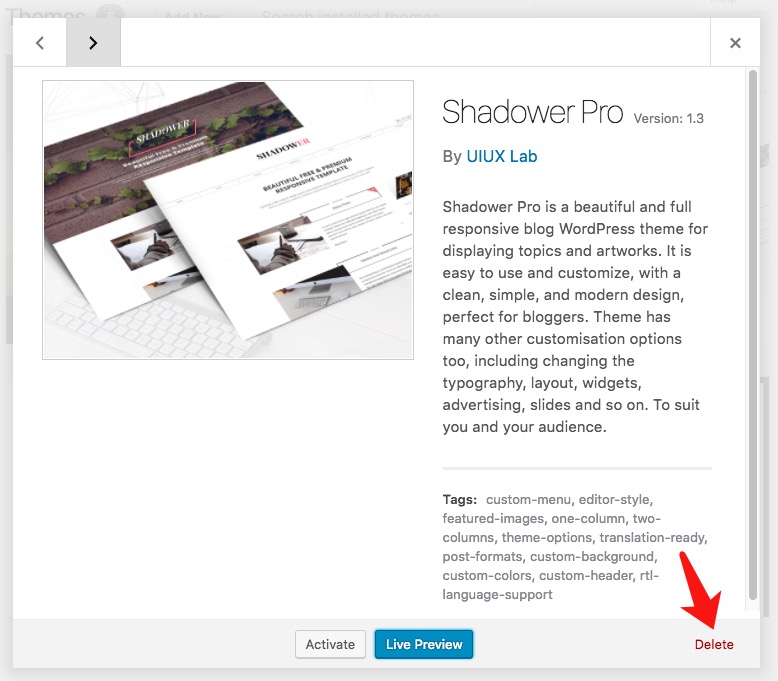
shadower-pro.zip again.
Dashboard » Appearance » Themes » Add New
shadower-pro.zip.
Dashboard » Settings » Permalinks and click on the "Save Changes" button.
wp-content/themes folder.
Dashboard » Appearance » Themes and activate the theme.
If you can see an error message saying: "The uploaded file exceeds the upload_max_filesize directive in php.ini" or "Are you sure you want to do this? Please try again." The solution is as follows:
/wp-content/themes/. Then you will have the theme in your Dashboard and you can activate it from there.
This is a common issue that can occur when installing a WordPress themes. For the details of solution, please have a look at this article.
Dashboard » Appearance » Themes
shadower-pro.zip again.
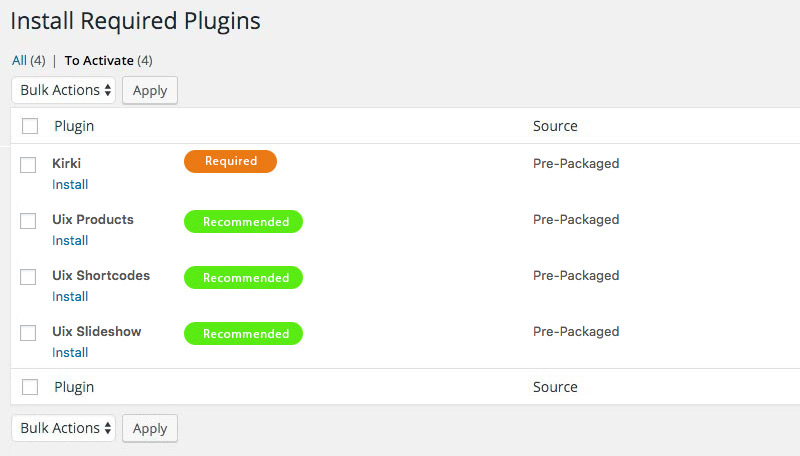
Once you have installed all theme Plugins you can import the Demo Content. By installing the demo content, your theme will look like the one you see on our demo. Restroe available content more than 95%. This action will let you understand how the theme works by allowing you to modify a content that is already there rather than creating it from scratch.
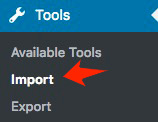
Dashboard » Tools » Import in the admin panel.
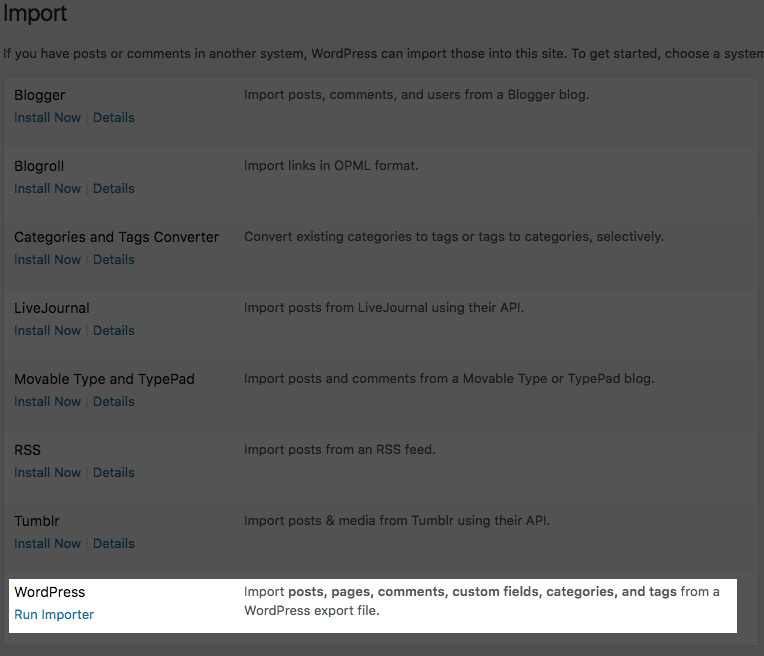
Demo-Content/shadowerpro_wordpress_demo_content.xml downloaded in the .zip above. Once selected, Click "Upload file and import". 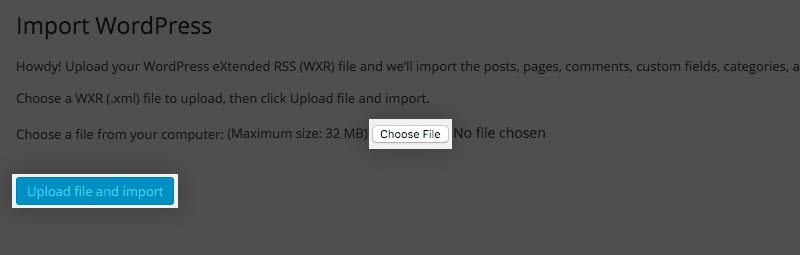
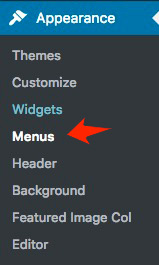
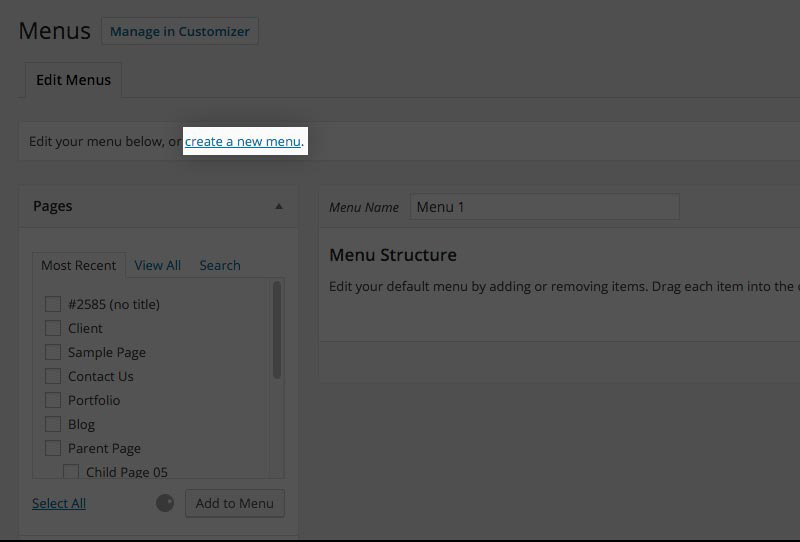
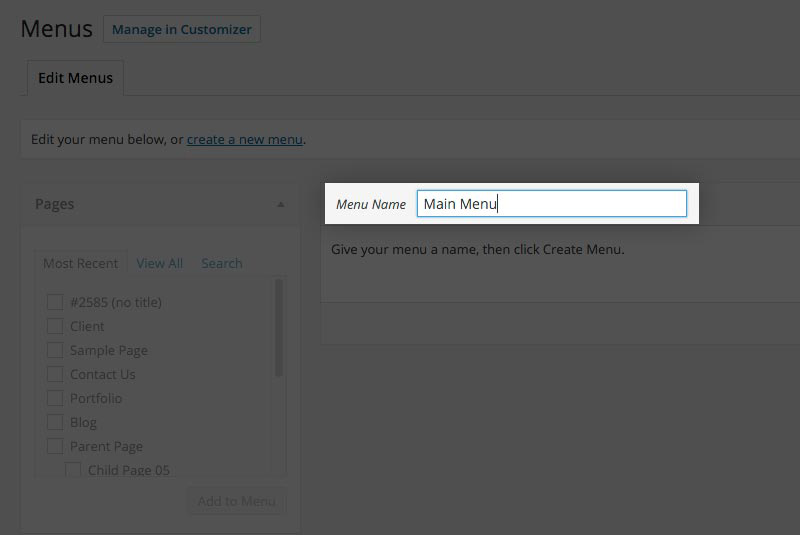
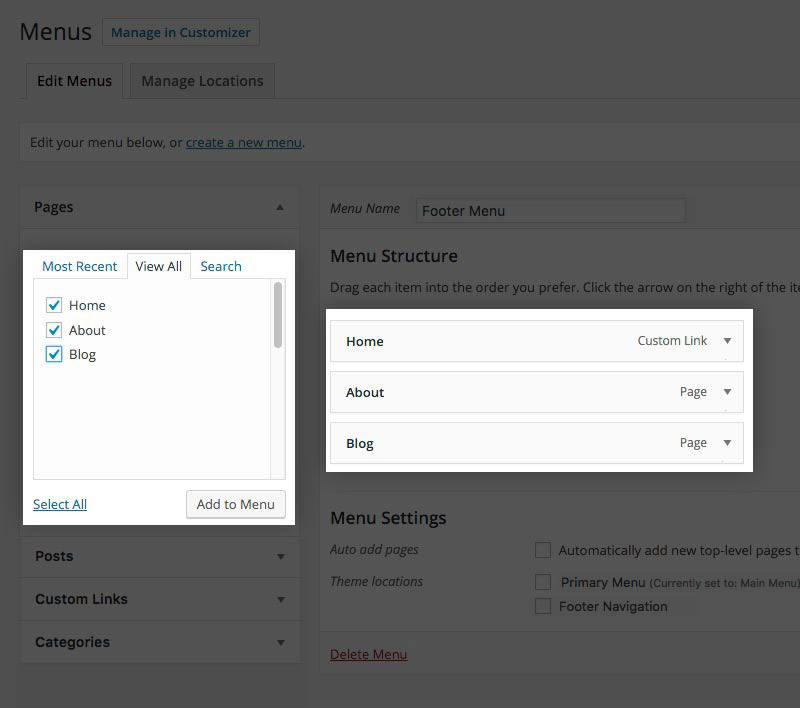
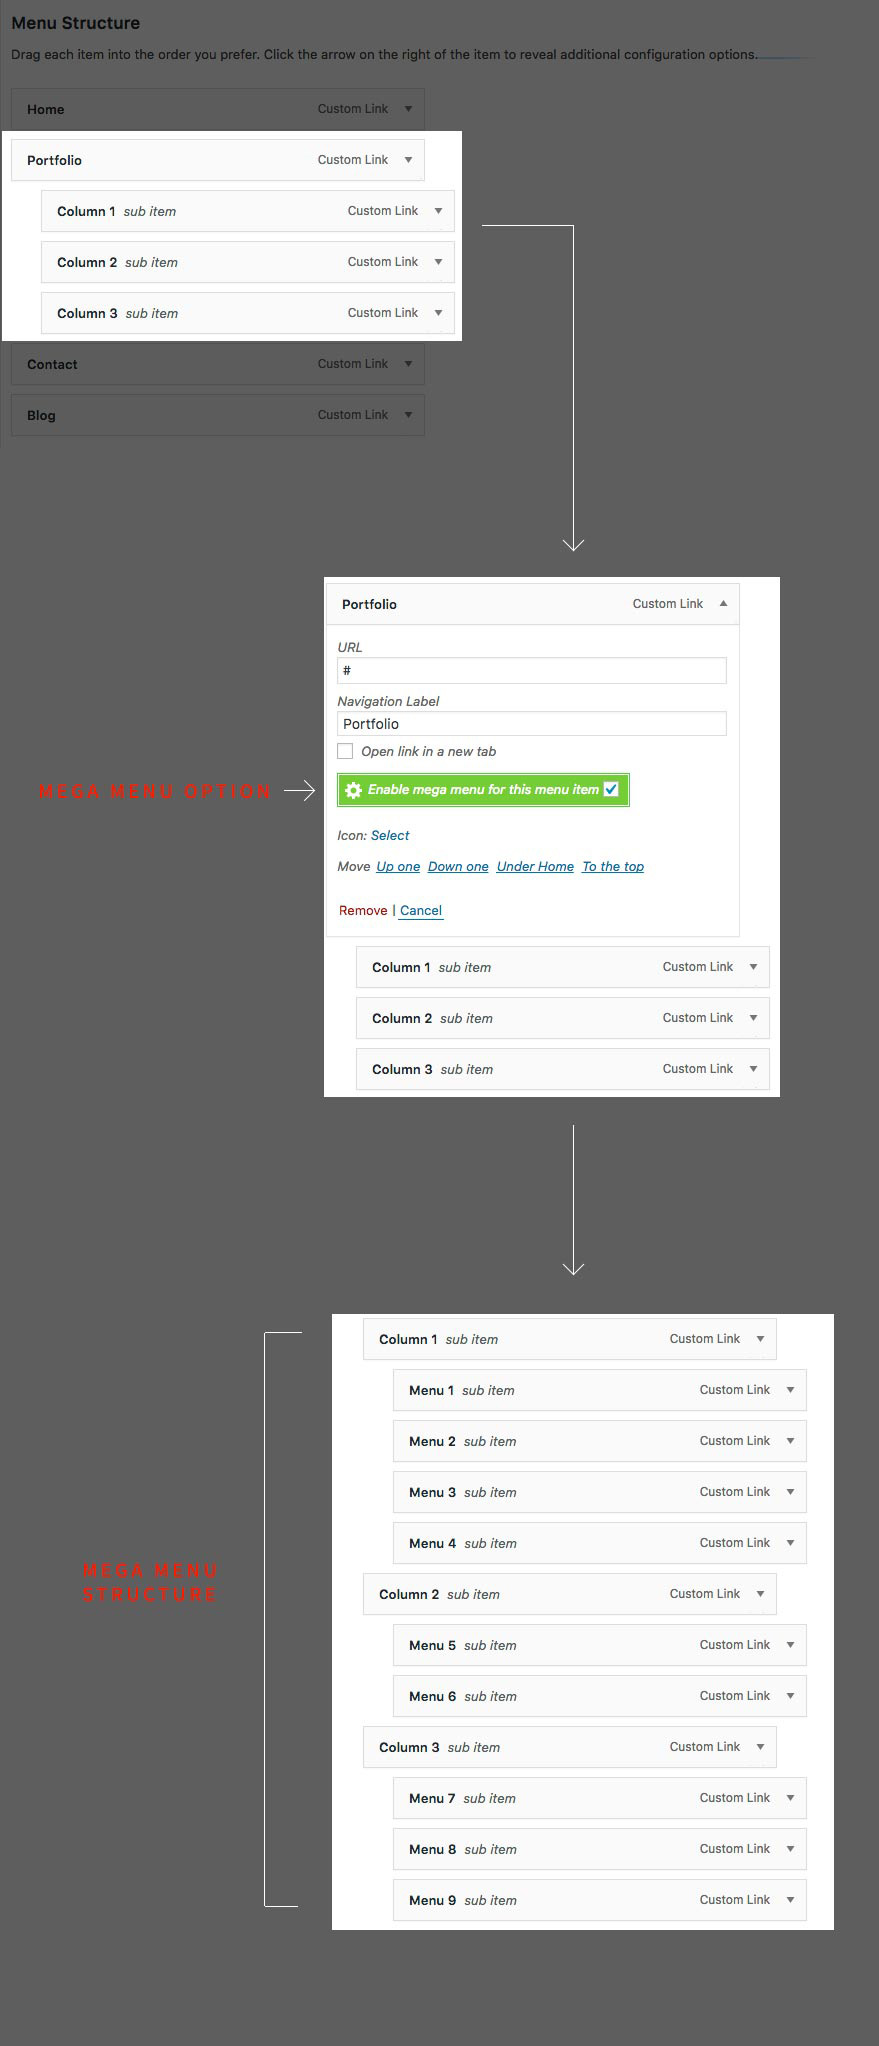
Dashboard » Appearence » Menus.

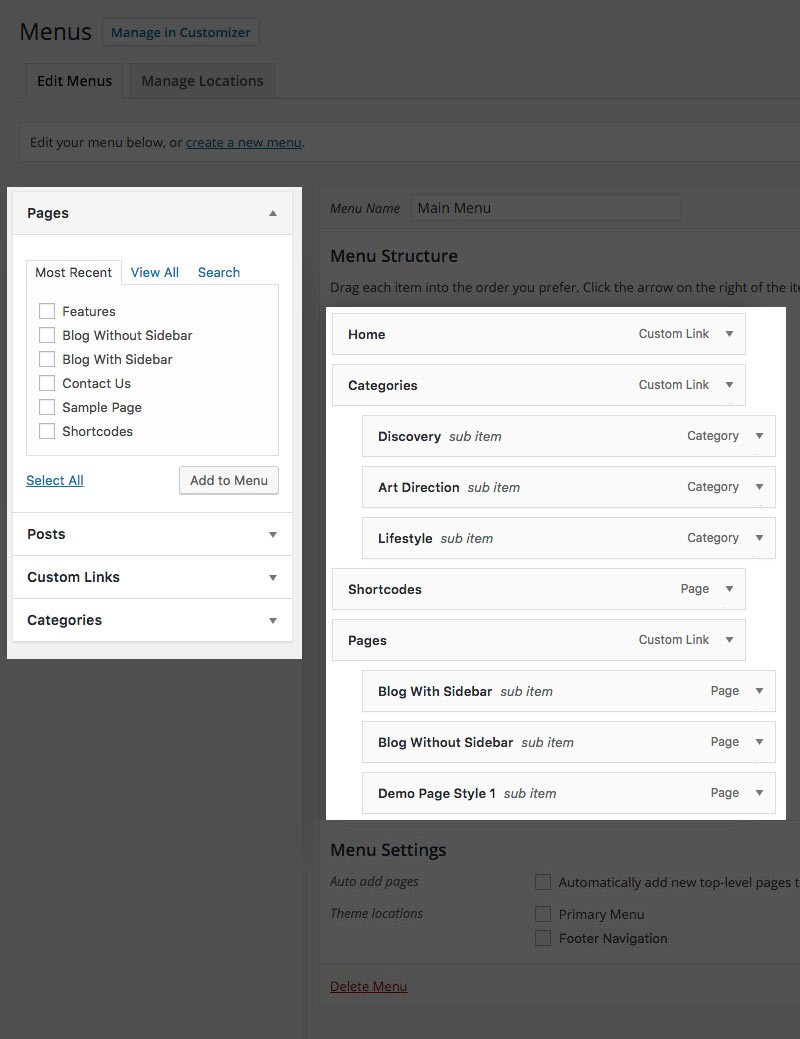
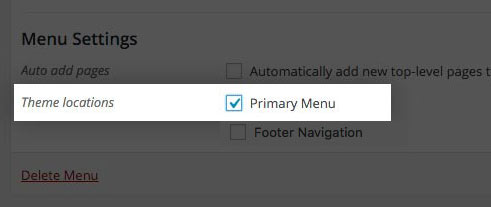
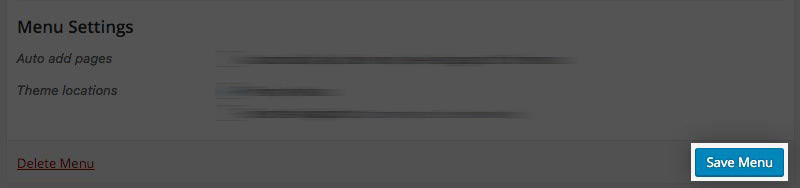
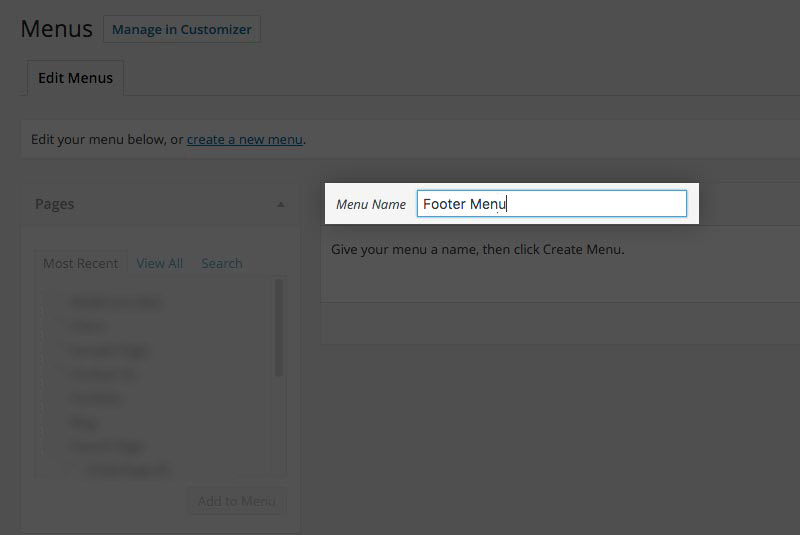
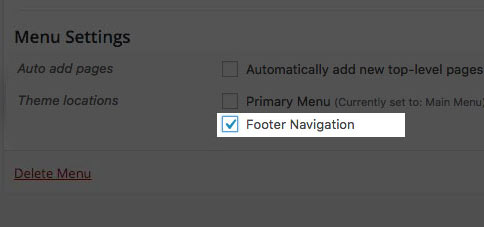
When I create a custom WordPress theme for my clients I like to create a footer menu as well. This is useful for adding links to contact, sitemap and so on. Like this:

Dashboard » Appearence » Menus.
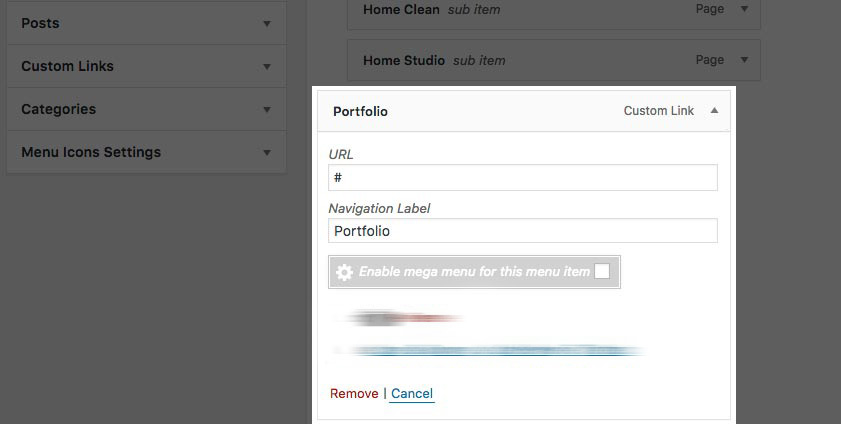
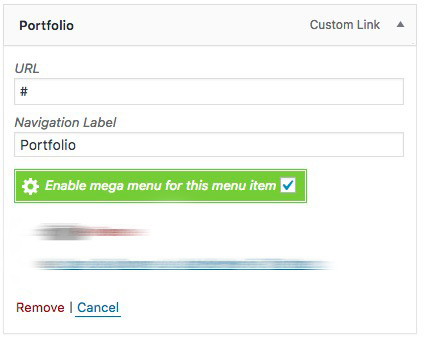
The Mega Menu extension gives the end-user the ability to construct advanced navigation menus. You can create one in the same way you create a regular sub menu. However, you have to choose the option of Enable Mega Menu to activate the mega-menu. The next level of submenu will be mega menu each column's title. Like this:

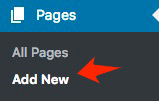
Dashboard » Page » Add New.
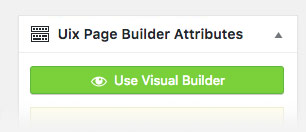
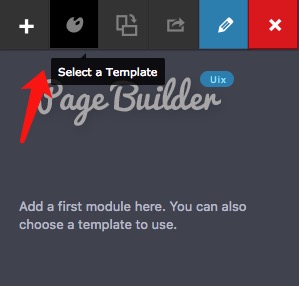
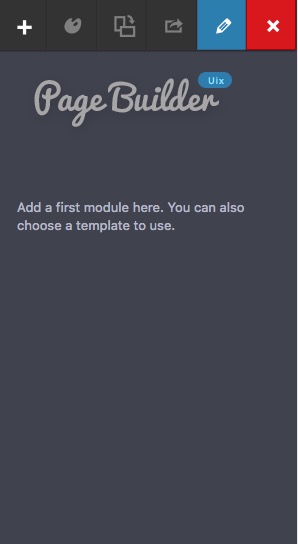
Uix Page Builder Attributes settings in a meta box in your WordPress backend when you create a new page or when you are editing an existing one. Click the "Use Visual Builder" button.
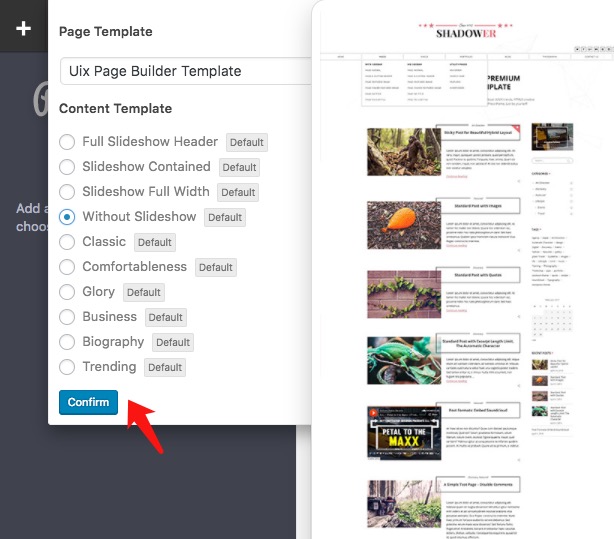

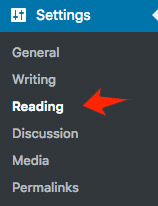
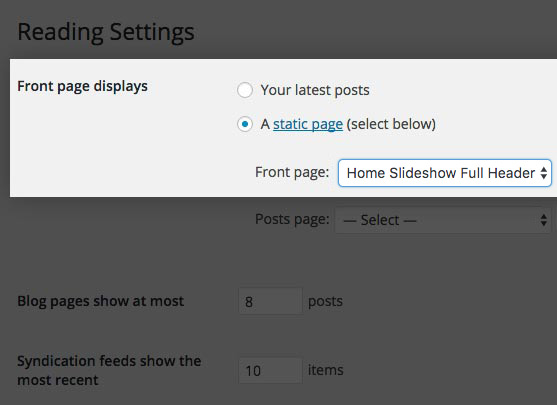
Dashboard » Settings » Reading » Front page displays. Select A Static Page option.
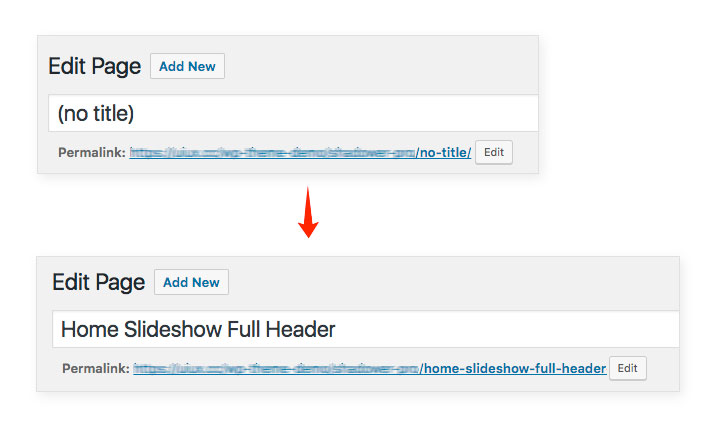
Home Slideshow Full Header.
Dashboard » Appearance » Customize in your Dashboard. If the "Homepage Logo" exists, this Logo specified on your current homepage only.
Dashboard » Appearance » Customize.

Dashboard » Appearance » Customize.

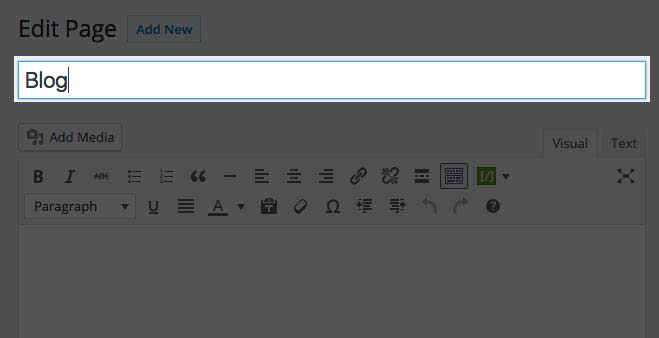
Dashboard » Page » Add New.
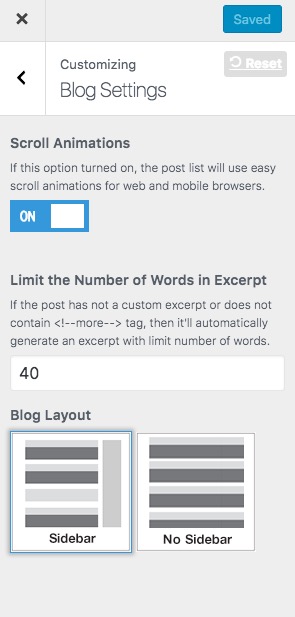
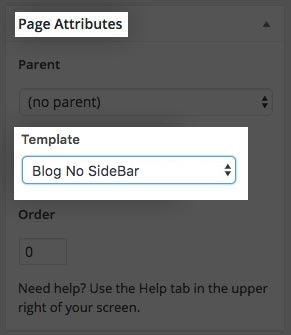
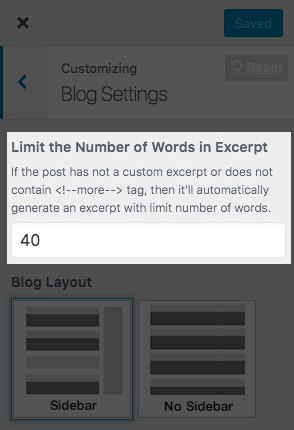
Blog SidebarBlog No Sidebar
Dashboard » Appearence » Menus, check the Blog page and click Add to Menu, then click Save Menu. You’ll now be able to access the blog page from your main menu on your site.
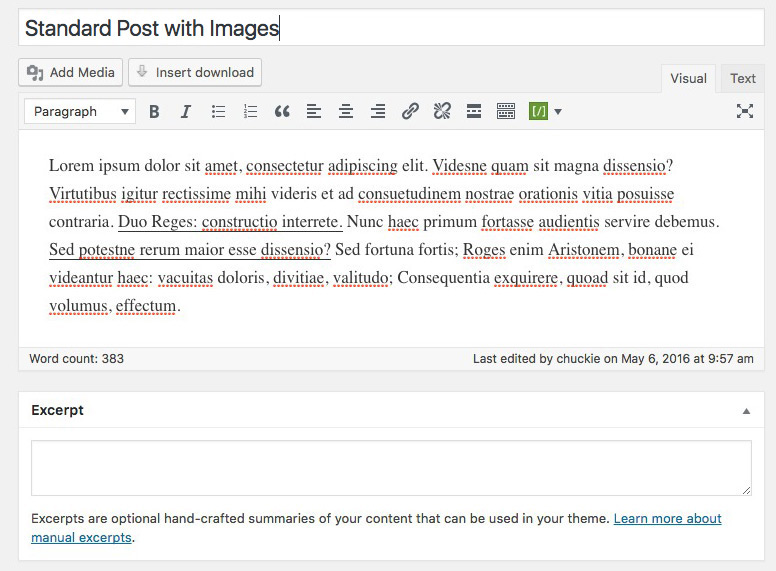
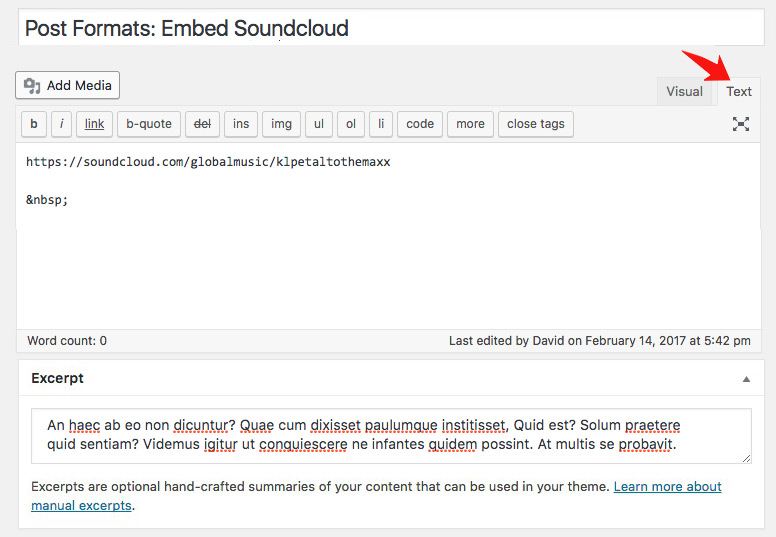
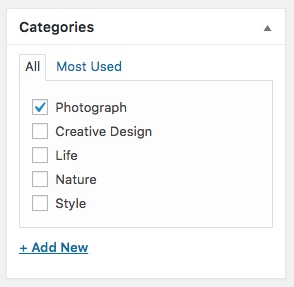
Dashboard » Posts » Add New.Categories, Format, Excerpt, Tags and Featured Image.Sometimes, you might not be happy with an automatically generated excerpt or you just want to add your own custom excerpt. In that case there is an option integrated in WordPress to enable an additional field to enter custom excerpts.
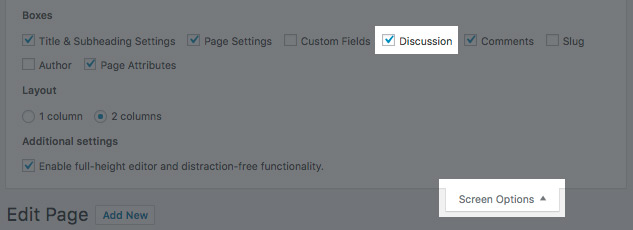
The Excerpt field usually isn’t visible by default. When you are on the edit post screen, you’ll see a small menu item "Screen Options" in the upper right corner of the screen. Please click on the button and it will open an options panel where you can just check the box "Excerpt".

If the post has not a custom excerpt or does not contain <!--more--> tag, then it'll automatically generate an excerpt with limit number of words.
Go to Dashboard » Appearance » Customize » Blog Settings. Locate the "Limit the Number of Words in Excerpt" region and edit it. When you’re done, click "Save & Publish" button.
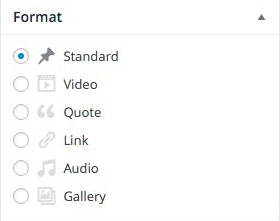
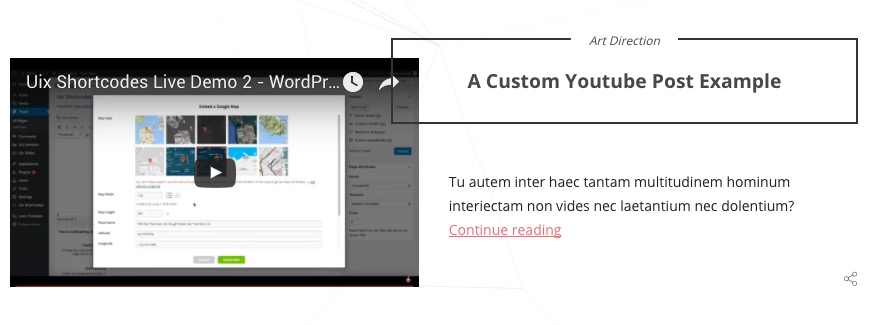
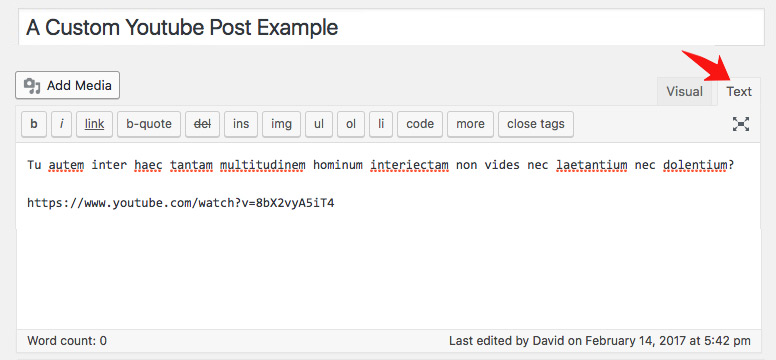
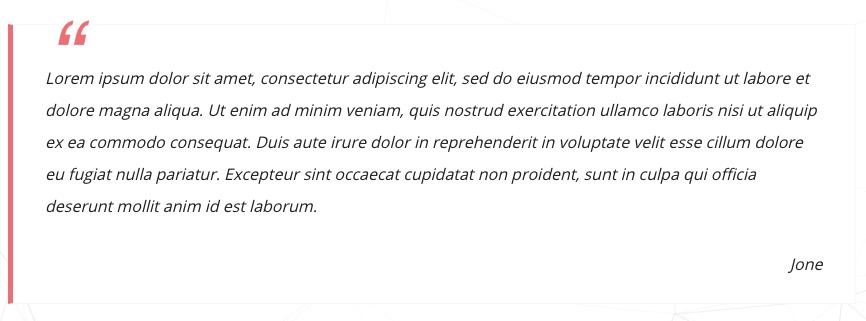
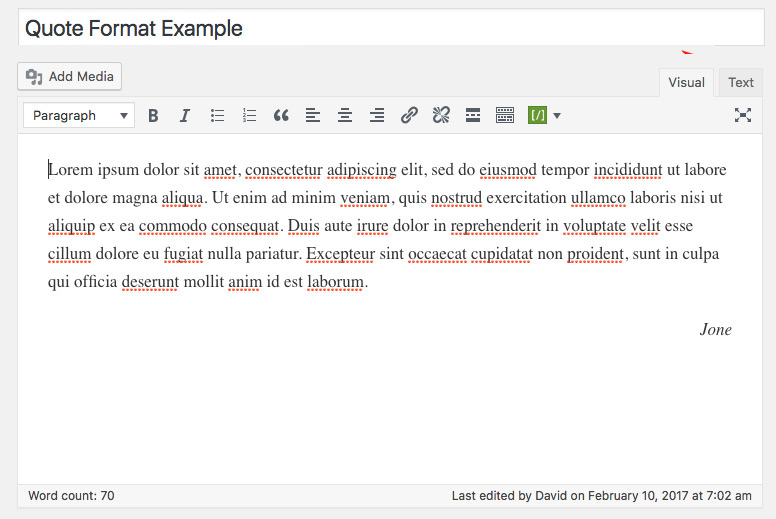
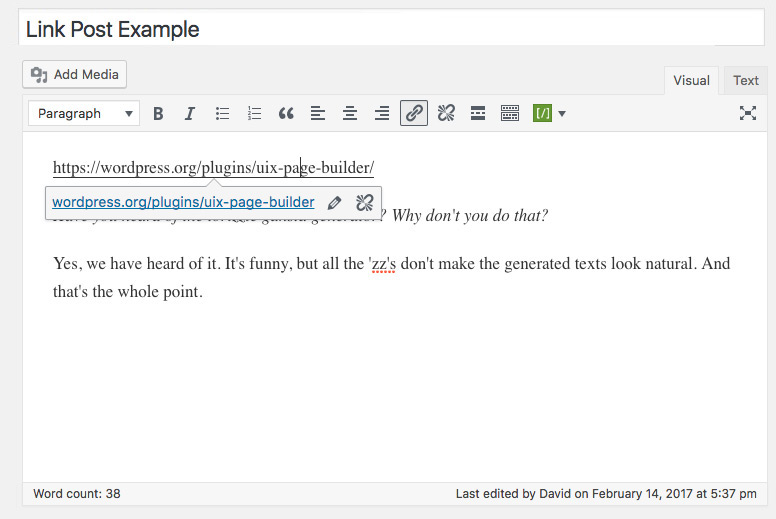
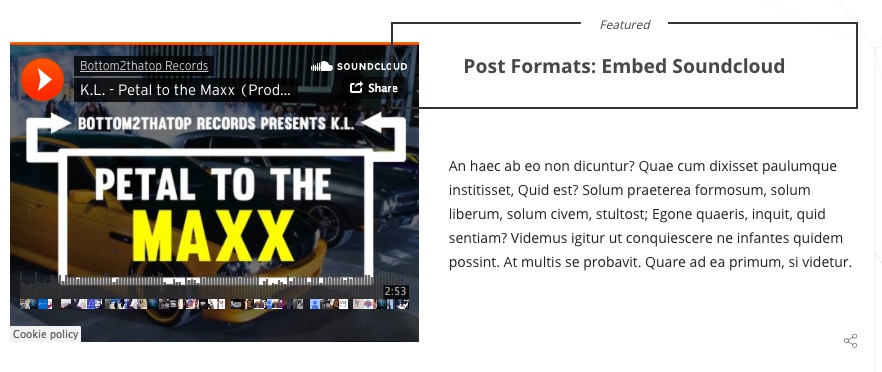
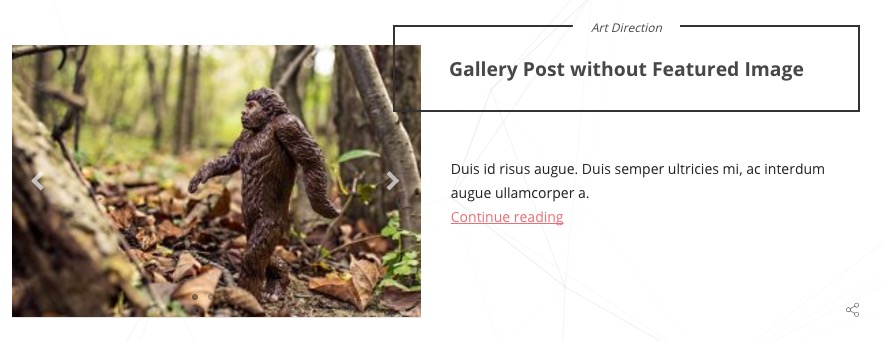
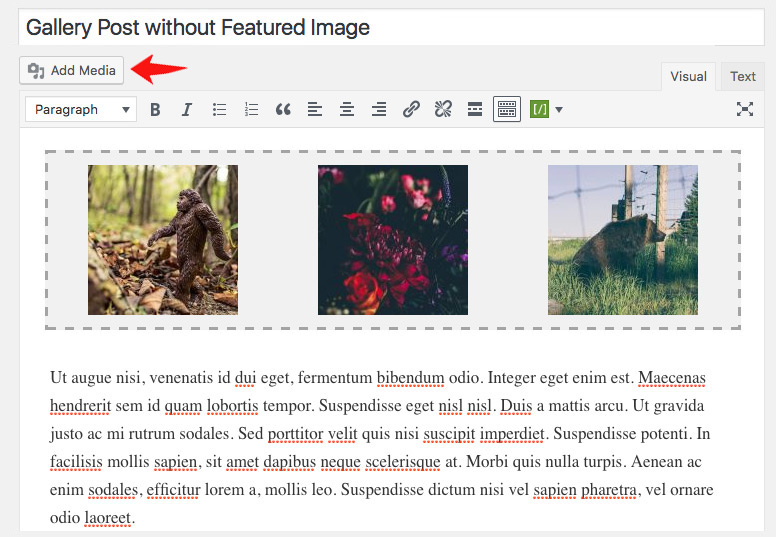
Let's take a look at the available formats (6 Post Formats):

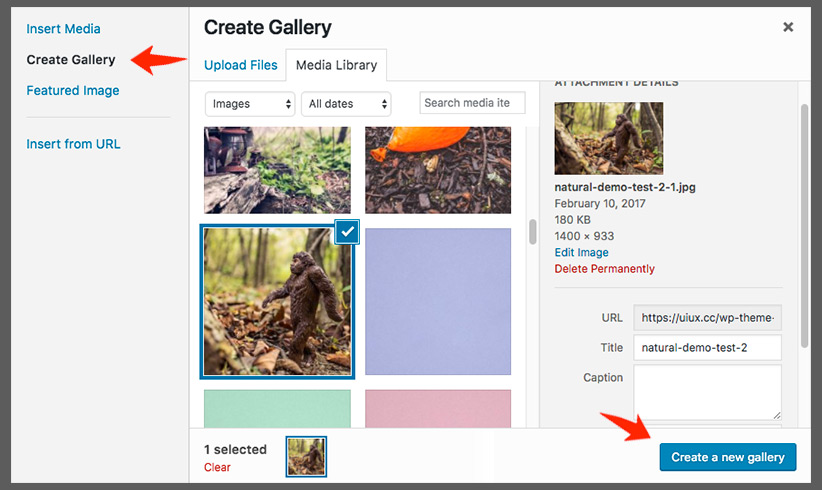
Add Media » Create Gallery and press "Create a new gallery" button in order to insert the gallery into the post.
Dashboard » Appearance » Customize.

Dashboard » Page » Add New.
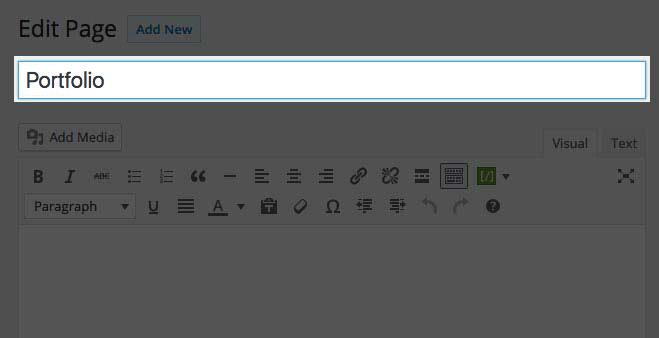
Products

Dashboard » Appearence » Menus, check the Portfolio page and click Add to Menu, then click Save Menu. You’ll now be able to access the portfolio page from your main menu on your site.
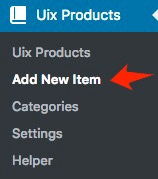
Dashboard » Uix Products » Add New Item.
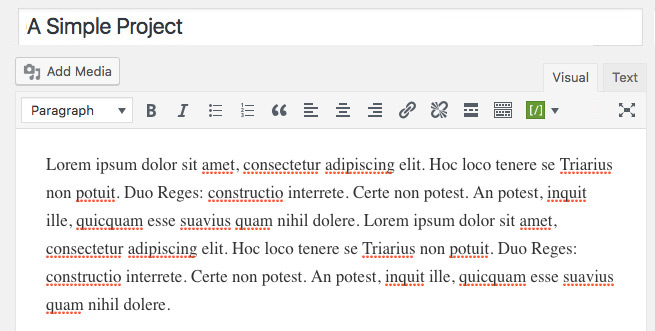
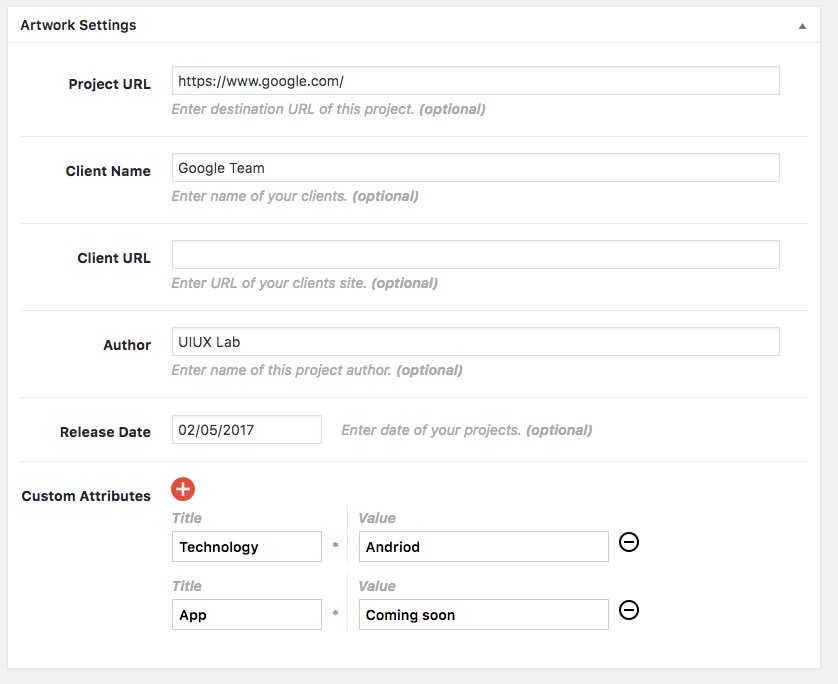
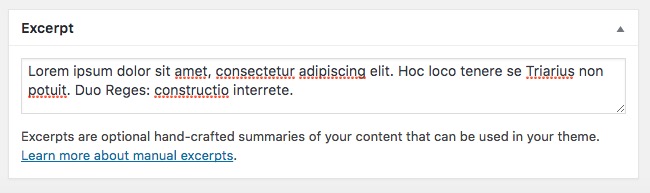
Excerpt or Image Gallery.
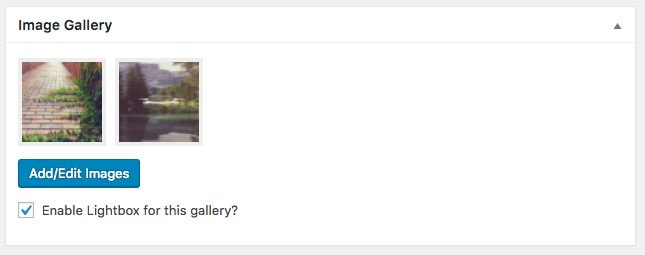
A field named Select Gallery post format will appear in the Image Gallery section of the page. This format features an image gallery slider. In order for it to work, you need to click "Add/Edit Images" button to add a gallery in the Image Gallery section of your page, and here you can upload and add your gallery images.
You can just check the box "Enable Lightbox for this gallery?" in order to enable lightbox effect for gallery.
You could want to add your own custom excerpt. If you can't see this field, you’ll see a small menu item "Screen Options" in the upper right corner of the screen. Please click on the button and it will open an options panel where you can just check the box "Excerpt".
Dashboard » Appearance » Customize.

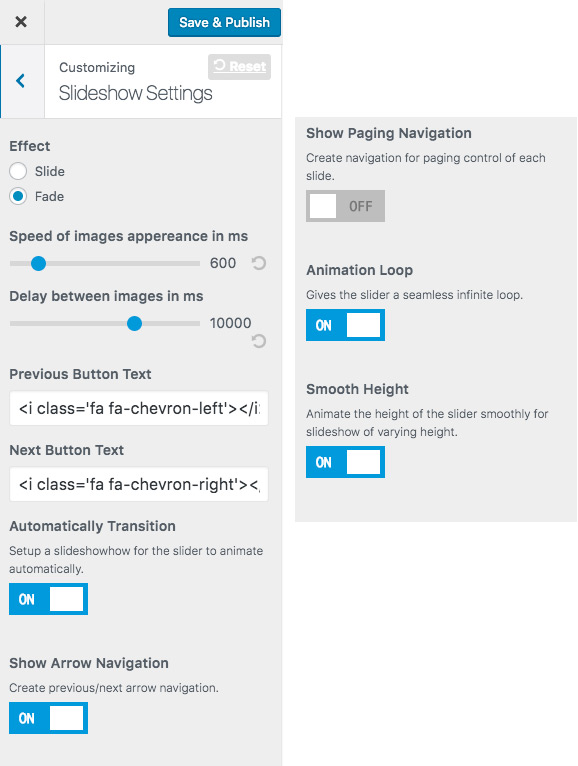
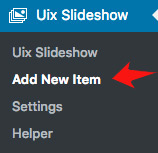
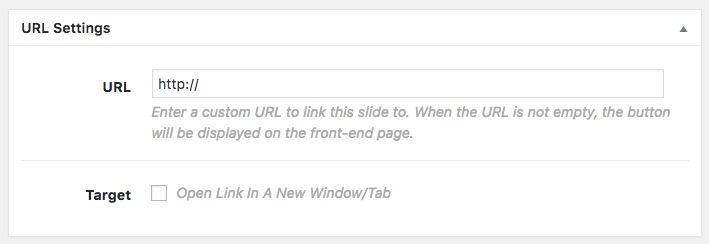
Dashboard » Uix Slideshow » Add New Item.
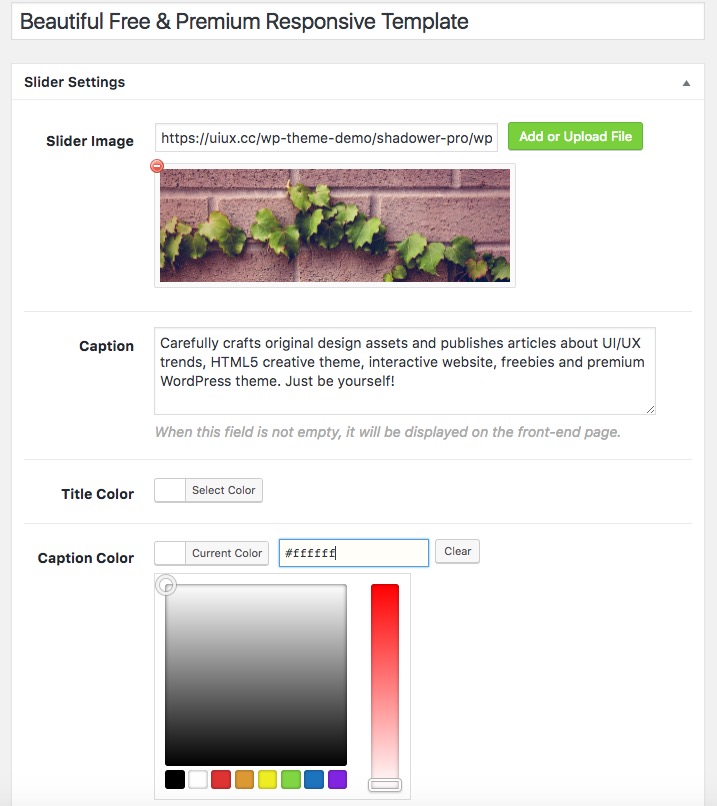
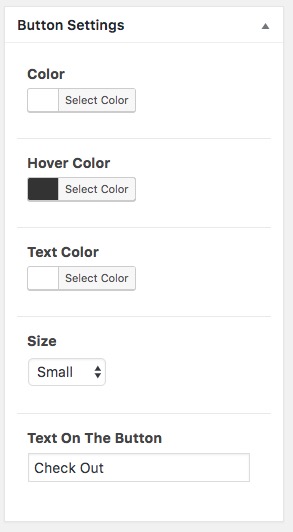
URL Settings or Button Settings.
If left blank, the front-end does not show the button.
You could set up your button color, text and size.
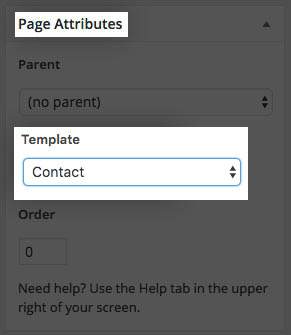
Dashboard » Page » Add New.
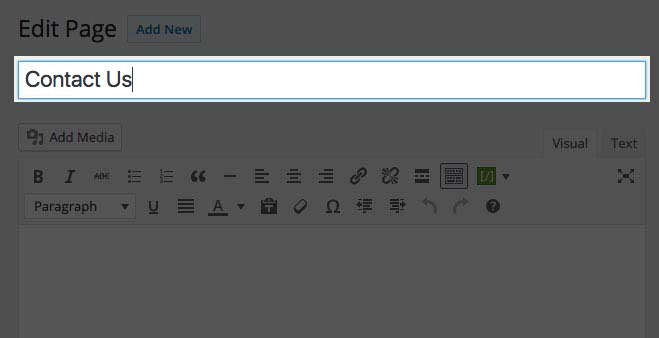
Contact


<h4>GET IN TOUCH</h4>
At vero eos et accusamus et iusto odio dignissimos ducimus qui blanditiis praesentium voluptatum deleniti atque corrupti quos dolores et quas molestias excepturi sint occaecati cupiditate non provident,

<hr />

438 Marine Parade
Elwood, Victoria
P.O Box 3184

<hr />

<strong>E:</strong> hello@foundry.net
<strong>P:</strong> +614 3948 2726
Dashboard » Appearence » Menus, check the Blog page and click Add to Menu, then click Save Menu. You’ll now be able to access the blog page from your main menu on your site.
A custom page is helpful if you want to have a page that looks completely different than rest of your blog but still runs on the WordPress CMS. You can also use it as a homepage or a landing page or other presentation page.
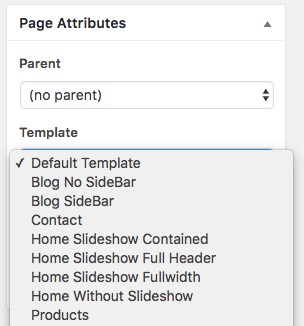
Let's take a look at the available page templates:
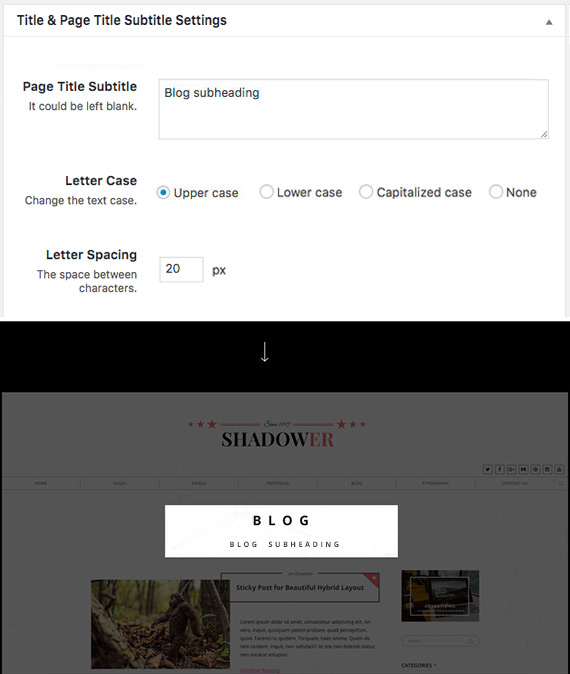
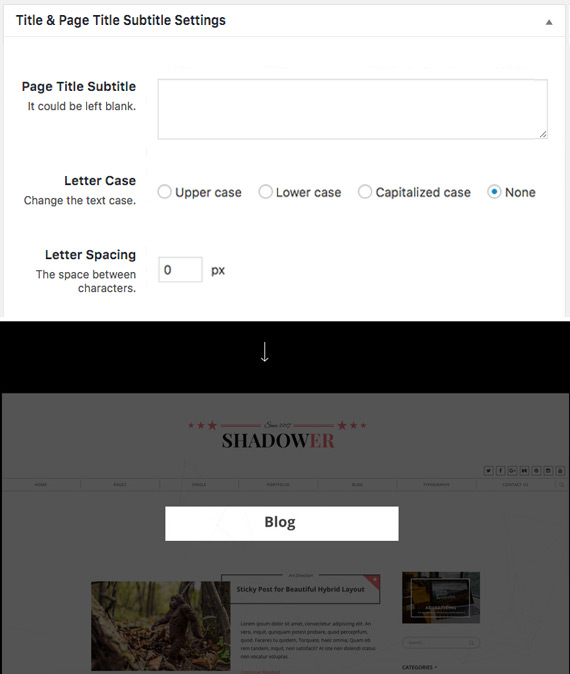
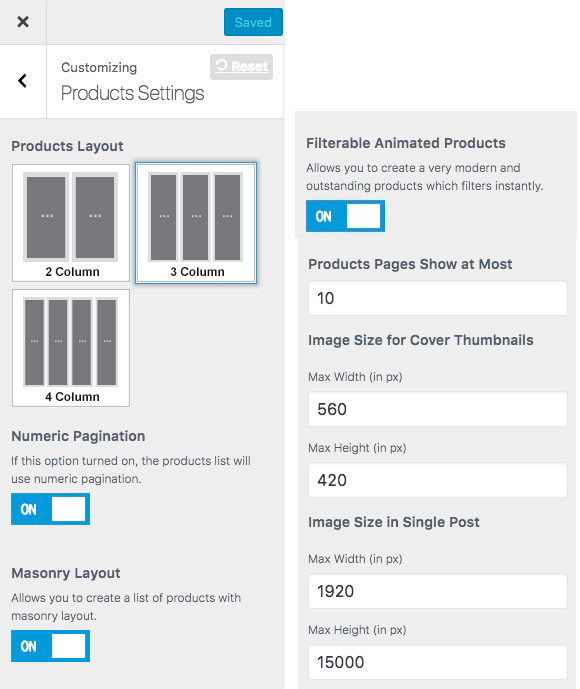
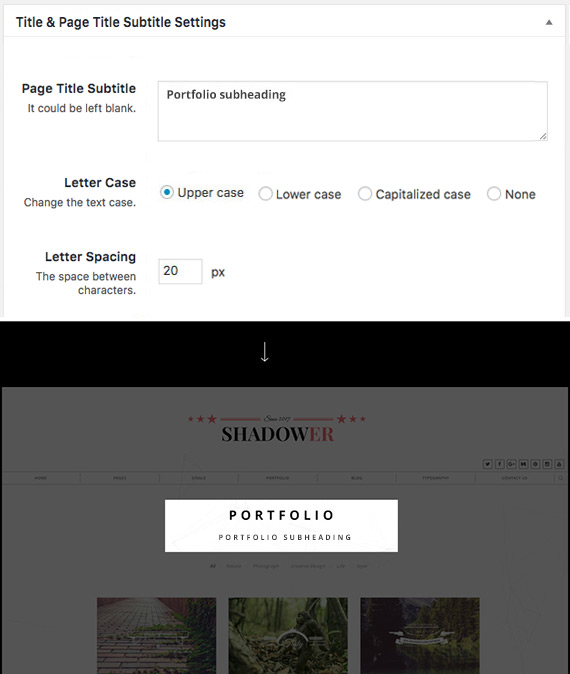
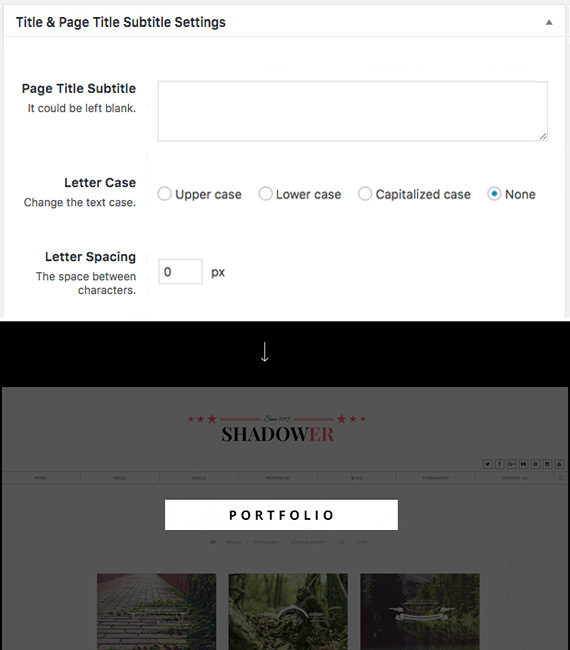
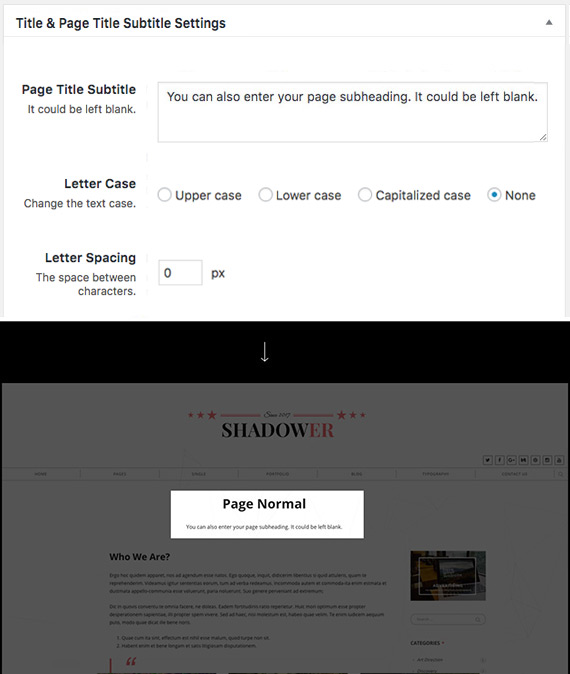
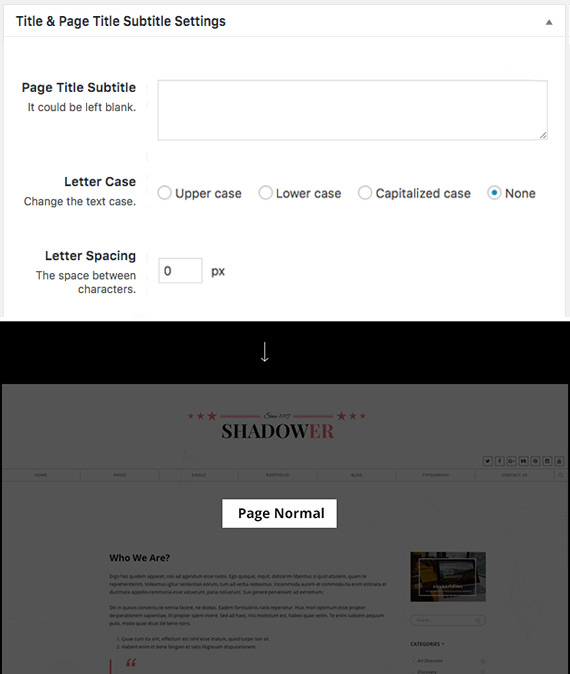
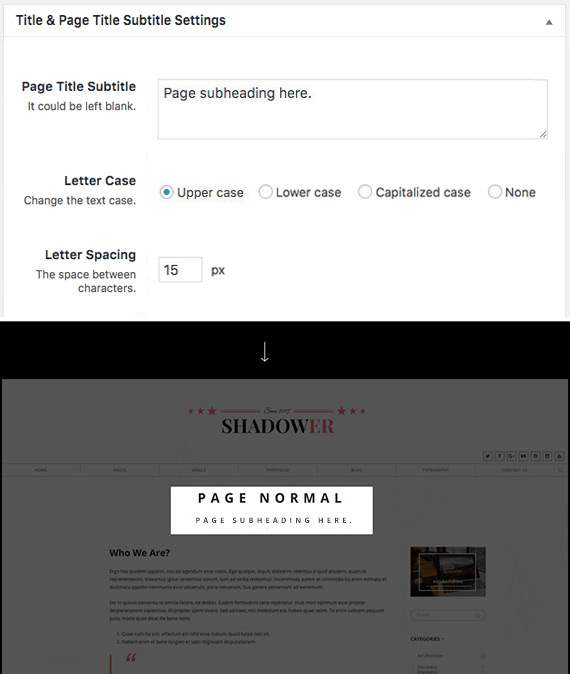
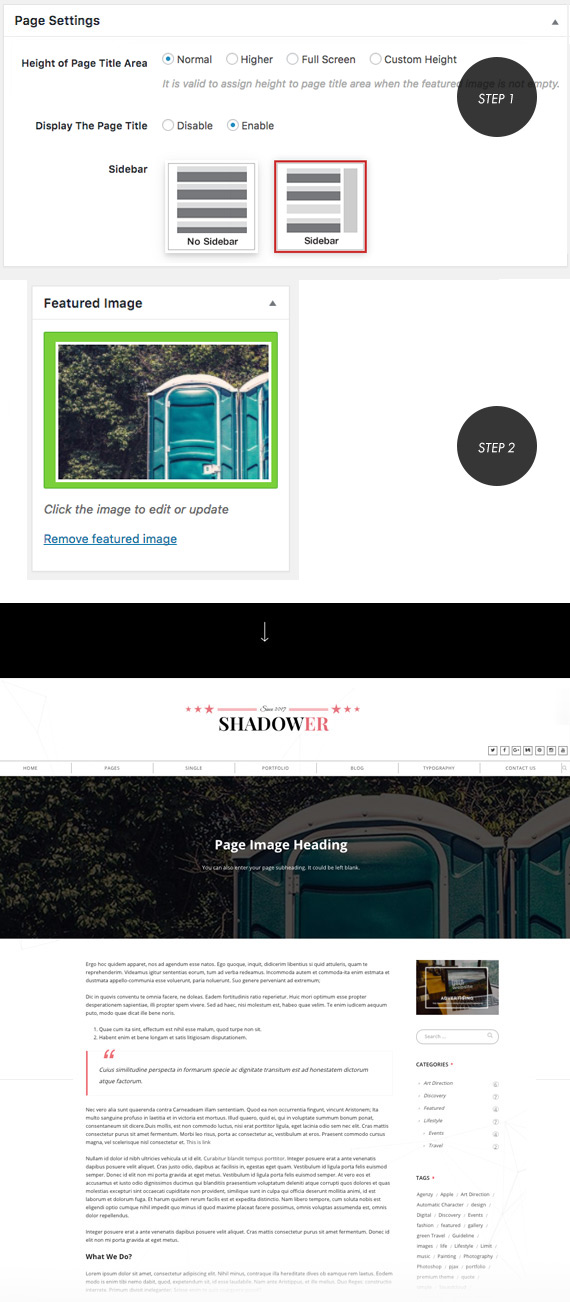
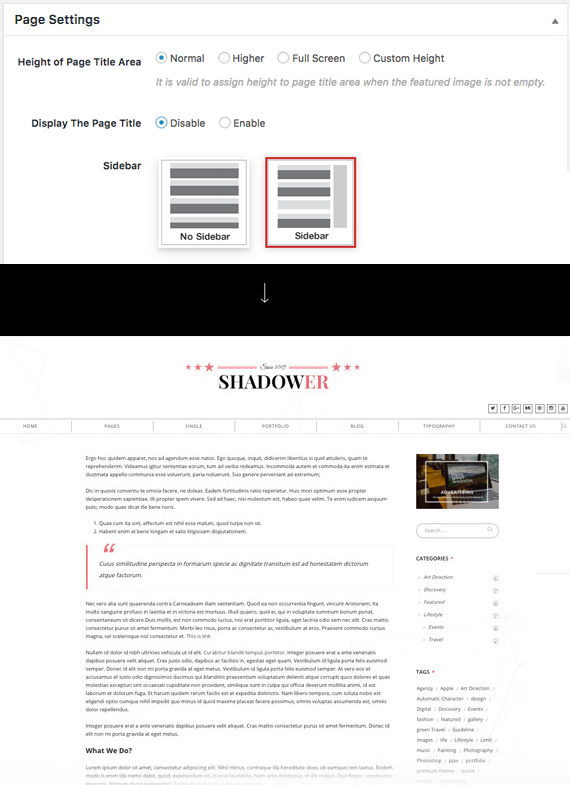
Dashboard » Appearance » Customize » Blog Settings to design of the layout.Dashboard » Appearance » Customize » Blog Settings to design of the layout.Dashboard » Appearance » Customize » Products Settings to design of the layout.To specify the Page Title Subtitle, Letter Case and Letter Spacing. Locate the "Title & Page Title Subtitle Settings" section on the bigger left one.
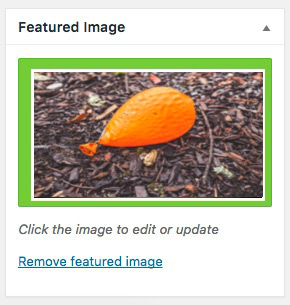
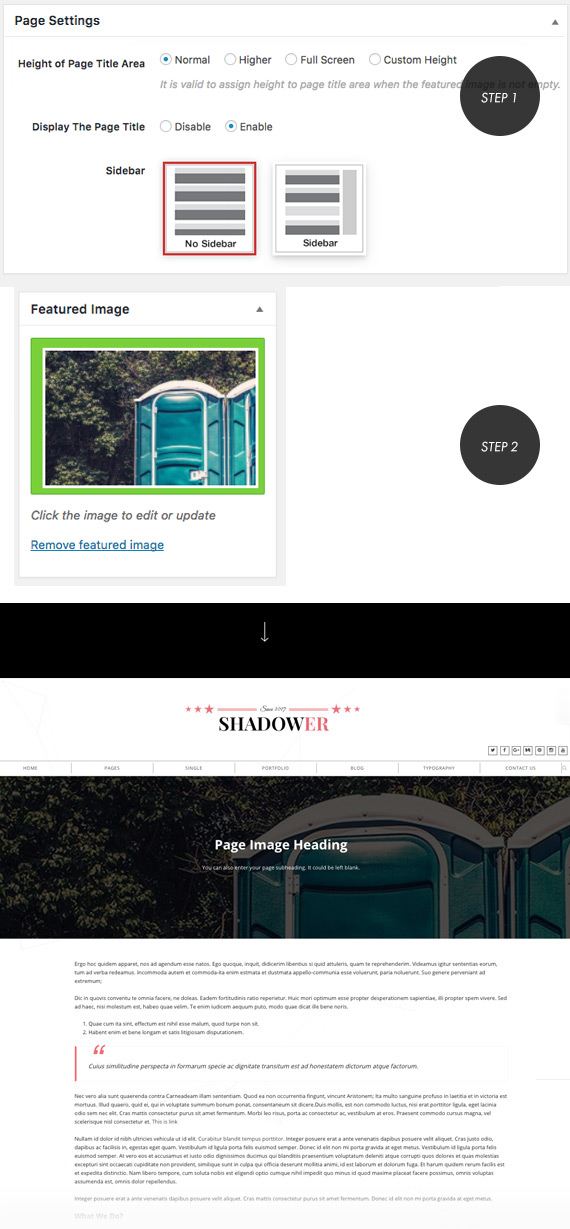
To specify the Height of Page Title Area, Display The Page Title, Sidebar and Featured Image. Locate the "Page Settings" section on the bigger left one.
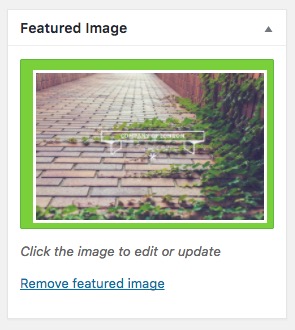
Pages can have a single "Featured Image", which enhance the presentation of your site. It is valid to assign height to page title area when the featured image is not empty.
Default Template for this page from the "Page Attributes" section.

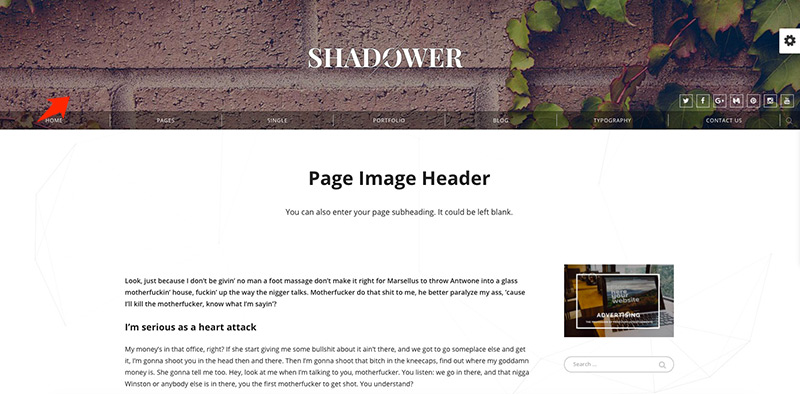
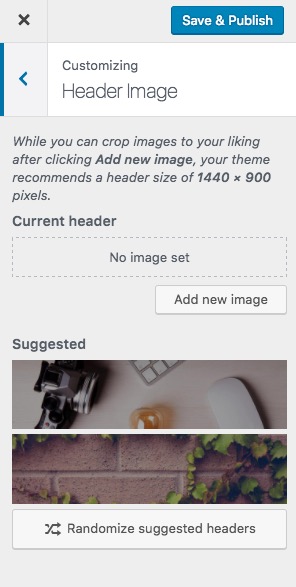
The theme allows users to upload their very own custom image header to obtain a much more personalized look and feel. You can choose default custom headers packaged with the theme.
Dashboard » Appearance » Customize.

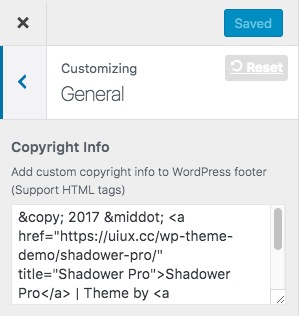
Theme gives you control over the overall style of Footer layout and copyright information.
Dashboard » Appearance » Customize.

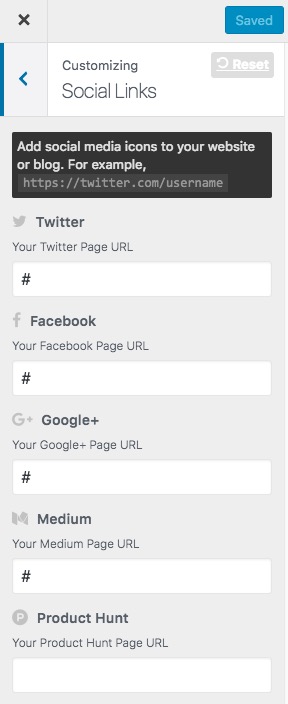
You can add social media icons to Header and Footer. It contains almost all major social icons: Twitter, Facebook, Google+, Medium, Product Hunt, Last.fm, SoundCloud, Dropbox, Dribbble, Pinterest, Behance, Deviantart, Flickr, Github, Instagram, Linkedin, Digg, Tumblr, Youtube, Vimeo, Reddit, Stack Overflow, WordPress, Codepen, Amazon, 500px, Vk, Weibo.
Dashboard » Appearance » Customize.

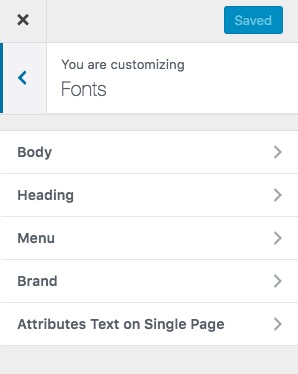
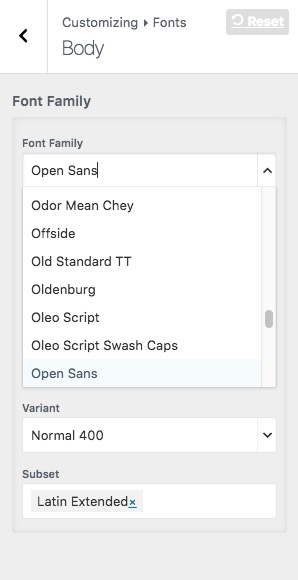
Setting "Body", "Heading", "Menu", "Brand" and "Attributes Text on Single Page" Typography with Google Fonts, if you like!
Dashboard » Appearance » Customize.

WordPress Widgets add content and features to your Sidebars. Examples are the default widgets that come with WordPress; for post categories, tag clouds, navigation, search, etc.
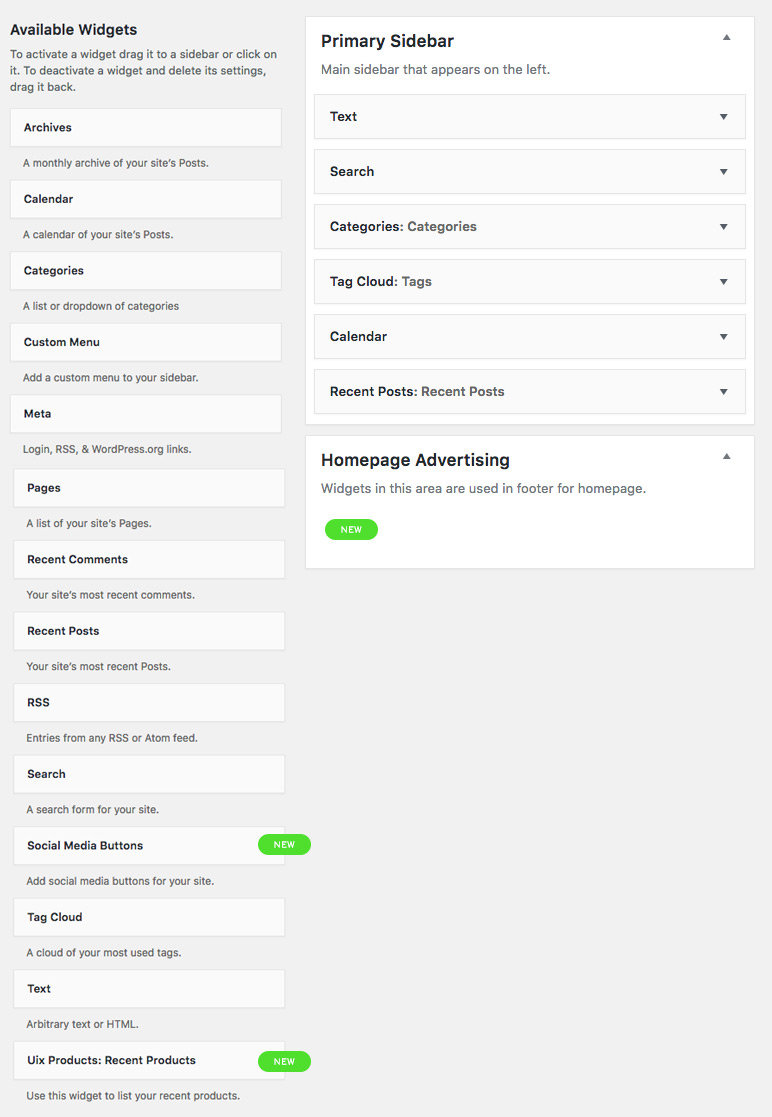
You can add a Widget by following these steps:
Dashboard » Appearance » Widgets.If you change WordPress Themes, the Widgets will return to the left side of the page in the Widget Archives or Available Widgets list. You may need to add them again and rearrangement depending upon the Theme's ability to preserve other Theme's Widgets.
There are 2 widgets supported in this theme as below:
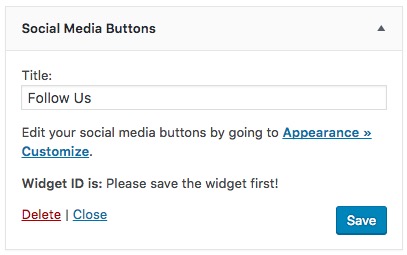
You could go to Dashboard » Appearance » Customize » Social Links to set up it.
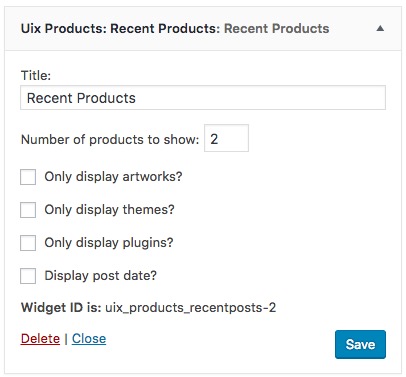
If you need, please check the checkbox of "Display post date?". Other checkboxes can be ignored, because the theme does not bind them.
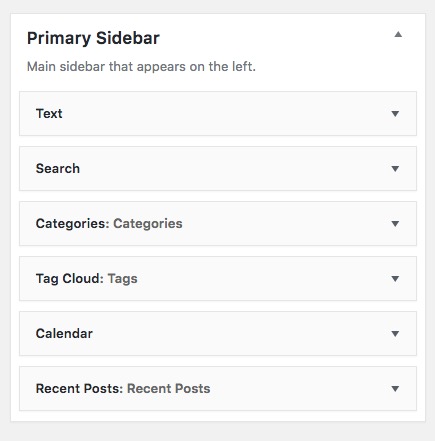
There are 2 sidebar areas in this theme as below:
Main sidebar that appears on the left.
Widgets in this area are used in footer for your home page. You can add the Ads in your sidebar by using WordPress widgets. Simply go to Appearance » Widgets in your WordPress admin area. Next drag & drop the Text widget to the appropriate widget area and paste your Google AdSense code in there.

You can add a Widget by following these steps:
Dashboard » Appearance » Widgets.
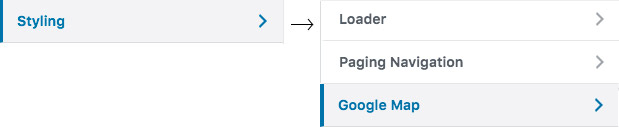
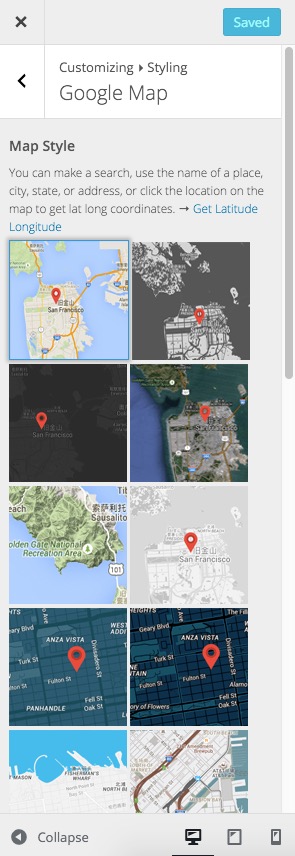
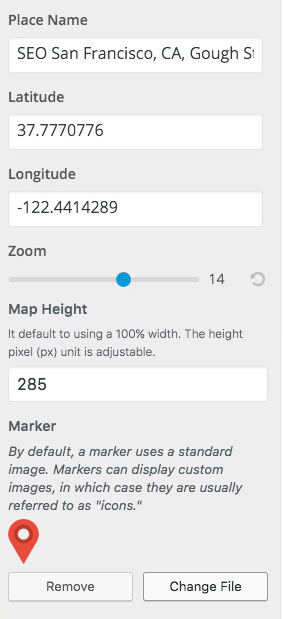
Contact Page integrated with Google Maps that allows you to customize the Google Map styles.
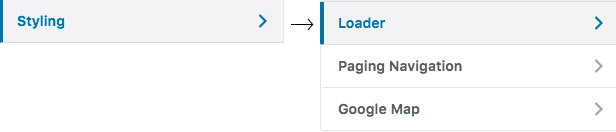
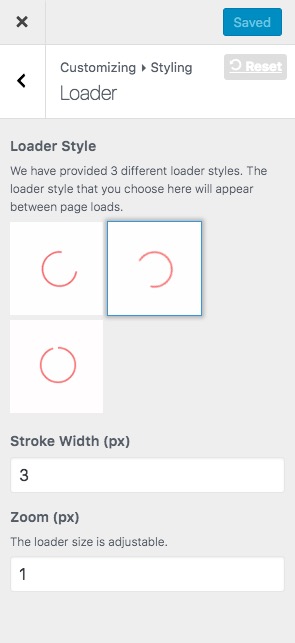
Dashboard » Appearance » Customize.
We have provided 3 different loader styles. The loader style that you choose here will appear between page loads.
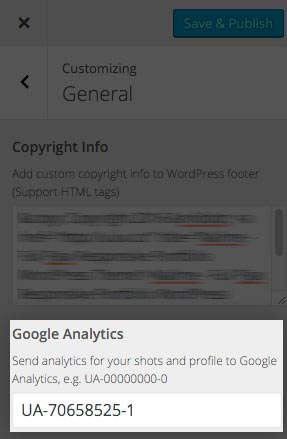
Dashboard » Appearance » Customize.
Knowing how your audience interacts with your website is crucial for your success. The best way to know your audience is through your traffic stats and this is what Google Analytics provide for FREE.
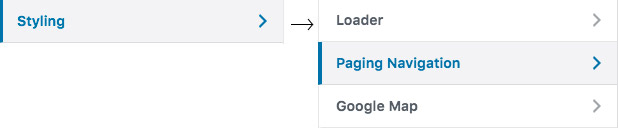
Dashboard » Appearance » Customize.
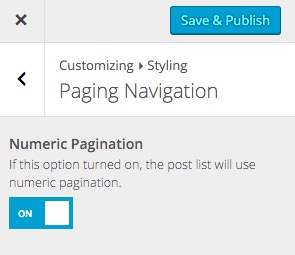
If you want to using numeric pagination for your blog and portfolio pages, also allow you change it.
Dashboard » Appearance » Customize.
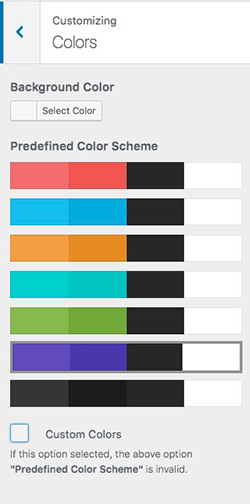
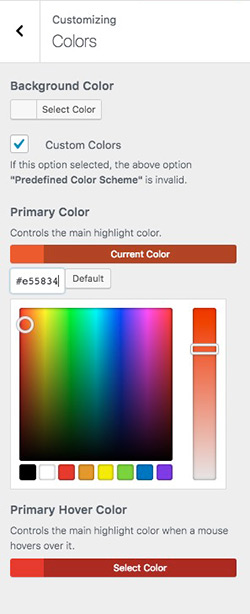
Theme includes a backend color picker in the theme options that allows you to easily change the color of any element throughout the entire theme. You can also choose 7 of our color schemes. It has Unlimited Color Options, keep the "Predefined Color Scheme" simultaneously.
Dashboard » Appearance » Customize.

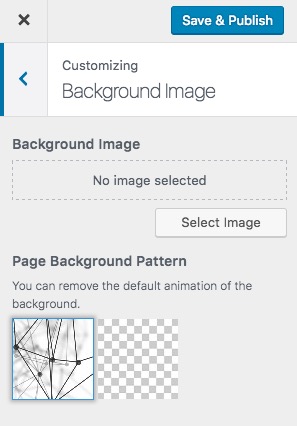
You can remove the default animation of the background.
Dashboard » Appearance » Customize.

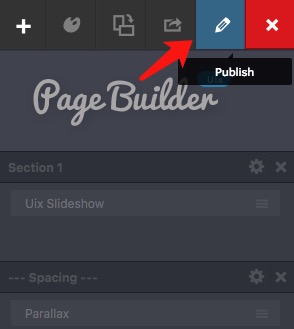
Go to your WordPress admin panel, edit or create a new post (or page). You’ll see our tiny little button in the toolbar, preceded by a separator:

The content elements are the heart of any page builder. These are the elements shortcodes that come with theme. You may customize the shortcode by changing/adding the parameters. "Content Shortcode", "Column Shortcode", "Web Elements Shortcode", "Container Shortcode", and so on. They could be used together.
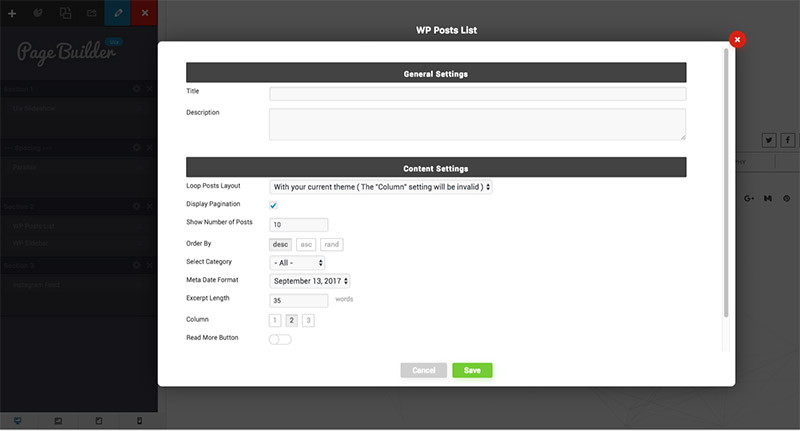
Go to your WordPress admin panel, edit or create a new page. You will find Uix Page Builder Attributes settings in a meta box in your WordPress backend when you create a new page or when you are editing an existing one.
All photos uploaded to the site are released under Creative Commons - CC0 and do not require attribution.
No more hassle trying to figure out whether you can use photos for commercial use and whether you need to provide attribution.
(Visite: stocksnap, gratisography )
Part of the image and videos used in the demo are not distributed with the theme.
They are all licensed under Creative Commons and credited to their respective creator/owner.
If you like this WordPress theme, please don’t forget rate it . It really helps me a lot, thank you very much!
Please feel free to contact us with any query. We’ll be glad to help you! Ways to contact me (by preference):
* Tweak: Upgraded Uix Slideshow plugin. This plugin is hosted on wordpress.org.
* Tweak: Upgrade Fontawesome to 5.0+.
* OPTIMIZE: Optimized the page builder's experience. This plugin is hosted on wordpress.org.
* New: Adding Gutenberg support that some blocks such as the image block have the possibility to define a “wide” or “full” alignment.
* Fix: Fixed an issue where instagram images were not displayed.
* Fix: Solved some problems under PHP7 and Gutenberg.
* Tweak: Compatible with higher version of WordPress system, ready for version 5.0.
* Tweak: Compatible with Gutenberg Editor. The plugins used by the theme was also updated on wordpress.org.
* Fix: Solved the problem that instagram widget call data is not displayed.
* Tweak: Updated some third-party plugins to the latest version.
* FIX: Fixed a bug for the website in IE11 browser loading.
* New: New API rebuilds.
* Tweak: Removed ajax method of all modules pop-window in admin panel, reduce High CPU Usage of Wordpress.
* OPTIMIZE: Updated all default templates of page builder.
* OPTIMIZE: Updated all default templates of page builder.
* OPTIMIZE: Optimized the page builder's experience.
* NEW: Enable the Drag & Drop visual page builder. Very easy to create pages, and quickly choose and edit from our premade 10+ templates. (fast and easy switching simply by clicking a mouse). Provided by Uix Page Builder from WordPress.org. At the same time, keep the original home page templates in the theme directory.
* NEW: Added 6 unique One Page styles.
* TWEAK: All kinds of styles Home Page full support Page Builder.
* OPTIMIZE: Optimize the scripts hook on required admin pages.
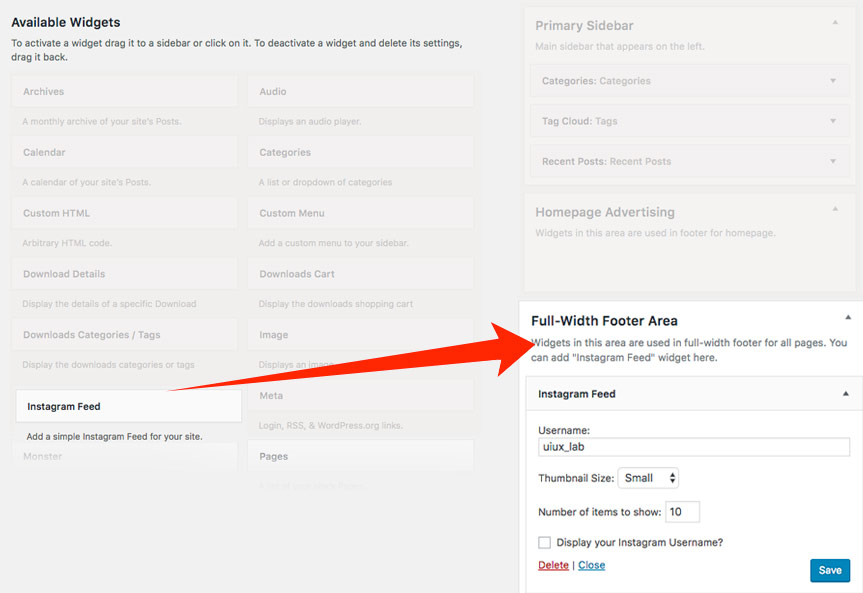
FIX: Fixed the text-domain incorrectly causing errors that could not be displayed correctly in other languages.* NEW: Added instagram footer widget. Simply go to Appearance » Widgets in your WordPress admin area. Next drag & drop the "Instagram Feed" widget to the "Full-width Footer Area".
* NEW: The theme has been translated into German. It is available in Deutsch.
* FIX: Fixed the text-domain incorrectly causing errors that could not be displayed correctly in other languages.
* NEW: Added "ShadowerPro_Uix_Custom_Metaboxes" class in order to add custom metaboxes to custom pages. (More fast, simple and compatible).
* FIX: Fixed a bug that the search results shows a post's category above the title which is just a white space in the line.
* OPTIMIZE: Optimize the appearance of custom metaboxes.
* OPTIMIZE: Enabling TinyMCE to better handle languages written from right to left.
* FIX: Resolve an error of primary navigation on the mobile that are not displayed using the Font Awesome icons.
* FIX: Resolve an error of admin-bar and primary navigation display when the front-end page scrolls.
* FIX: Resolve the menu display issue. The menu needs to have a fallback for when no menu is selected.
* FIX: Optimized navigation user experience, the theme navigation bar when add a long menu to it wrap.
* FIX: Resolve the mega menu bugs in a Right-To-Left (RTL) direction.
* FIX: Fixed an error that does not display the copyright information when the primary navigation was not selected.
* NEW: Customized copyright information supports dynamic tag replacement.
* TWEAK: Updated Uix plugins packages and enhanced compatibility.
* OPTIMIZE: Optimized HTML styles for comments list.
* OPTIMIZE: Optimized categories styles for posts list.
* OPTIMIZE: Optimized template for displaying Author bios.
* OPTIMIZE: Use "Modernizr.cssanimations" instead of "jQuery.browser" for main script because the theme shouldn't really rely on UA testing this way either.
* OPTIMIZE: Optimize the theme dependency and notification of PHP version. Resolve those issues when handle this on theme activation, and display the notice only in the wp admin.
* REMOVED: Remove the 'is_pjax()' from the core class.
* REMOVED: Remove 'source' in tgm activation configs for theme recommended plugins (Still retain the plug-in package in theme "plugins" folder). Plugins that are available in the wp.org repository should only specify the slug, the version numbers should be the minimum versions supported by your theme. This would help gain more trust for users installing those plugins as well as it would remove the label "External Source" from the activation page.
* NEW: Added 6 social media icons: Stack Overflow, WordPress, Codepen, Amazon, 500px, Vk.
* Fix: Removed duplicate HTML tags for single post page.
* Fix: The horizontal scroll issue was caused by adjustment of display's resolution.
* Fix: Styles of footer menu issue.
* NEW: Added Unlimited Color Options, keep the "Predefined Color Scheme" simultaneously.
* OPTIMIZE: Optimized typography for front-end display.
* TWEAK: Upgraded WordPress style of sticky post using SVG instead of PNG to speed up your website.
* Fix: Styles on content hyperlinks were lost.
* NEW: Allows you to customize the scroll animations for post list. ( If this option turned on, the post list will use easy scroll animations for web and mobile browsers. )
* Fixed: Resolved thumbnails bug that may appear on the gallery post type.
* NEW: Allows you to customize the Loader Style.
* OPTIMIZE: Optimized slider readability for other style of the home pages on mobile.
* OPTIMIZE: Minimized and compressed assets for core front-end files ( style.min.css and script.min.js ), which also reduces the load on your server. Keep the original file simultaneously.
Initial Release.